Manual to Load Oblique Image Model
Overview
Oblique image model is becoming an important source of 3D GIS because it is precision, efficient, real, and cost effective. SuperMap GIS products support oblique image model. SuperMap iClient3D for WebGL can directly load oblique image model publishied by the server.
This document explains how WebGL Client load and browse oblique image data.
Operations
Here is an example to illustrate the steps.
1. Generate Configuration File
Introduction
You can generate a .scp format configuration file based on .osgb files from multiple folders. The configuration file records the relative paths, names, insert points, coordinate information, etc. of the oblique image model data.
If you already have the .scp format configuration file, you can skip this step to 2.Publish 3D Services.
Basic Steps
1 Open SuperMap iDesktop, go to Oblique Photogrametry > Create configure file.
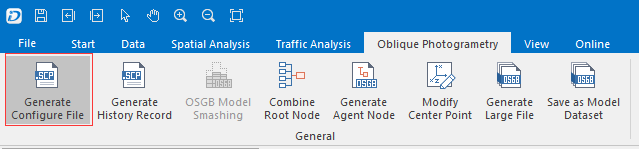
Fig. Generate scp file
2 In the dialog box that displays, as shown below:
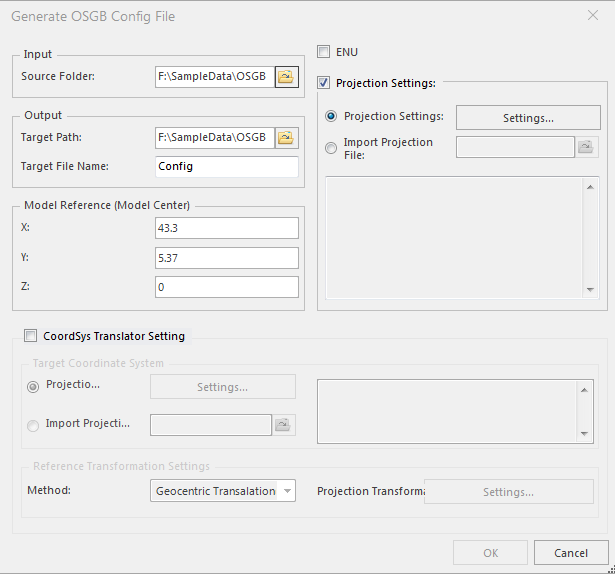
Fig. Generate scp file dialog box
3 Select the folder of OSGB models for Source Path
4 For Result Settings, please follow the suggestions below:
- Target Path: The path to save the configuration file
- Target File: The name of configuration file.
5 Set X, Y, Z for Reference Point. The default is (0, 0, 0).
- Reference Point is the center of the oblique image mode. X represents longitude, Y represents latitude, Z represents elevation.
6 Check Projection Settings, set projection for the .scp file.
7 After settings, click OK to generate the configuration file.
Results
A new file with the extension of .scp will be generated at the specified target path, as shown below.
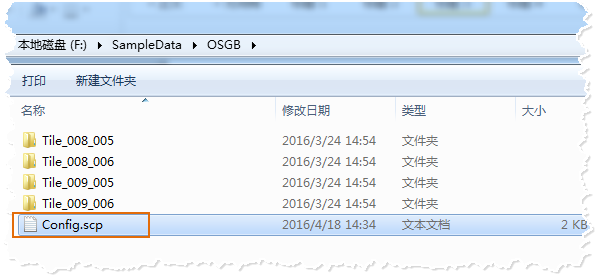
Fig. Result for generating configuration file
2. Publish 3D Services
Introduction
When you get the configuration file, you can publish the oblique image model.
Basic Steps
For details, please refer to Load Oblique Image Model with WebGL.
Results
1 Open SuperMap iDesktop, Workspace Manager>Scene>New Spherical Scene.
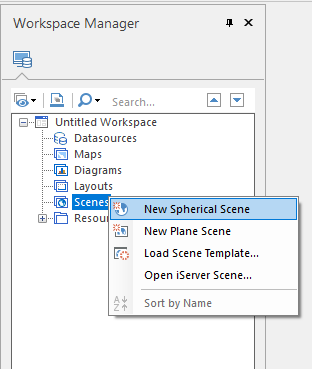
Fig. New spherical scene
2 Layer Manager>General Layers>Add OSGB Cache Layer, select the *.scp configuration file generated.
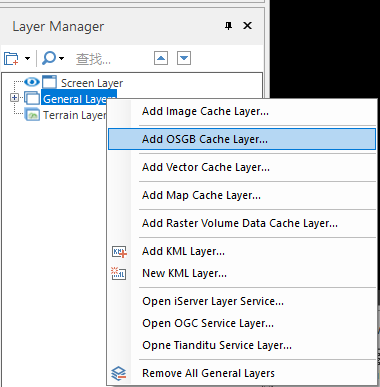
Fig. Add OSGB cache to scene
3 After loading data, save scene and workspace.
4 Start iserver via 4 startup.bat under %SuperMap iServer_HOME%/bin.
5 Start bowser, enter Web Manager via http://localhost:8090/iserver/manager. Quickly publish a service at Home Page.

Fig. Quickly publish one or multiple services
6 In the Quickly publish service--Select datasource page, select the Workspace as the Data source, and click Next.
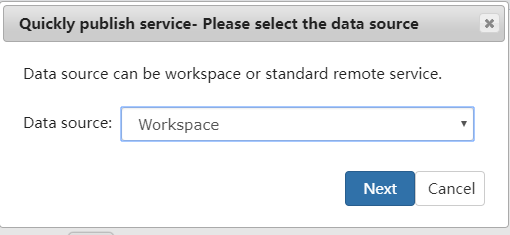
Fig. Select the Workspace as the Data source
7 In the Quickly publish service--Configure data page, click Remote Browse to select the workspace, click Next.
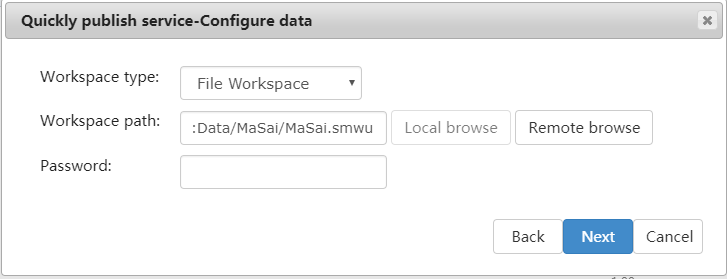
Fig. Select the workspace
8 In the Quickly publish service--Select service type page,Select REST 3D Service, click Next.
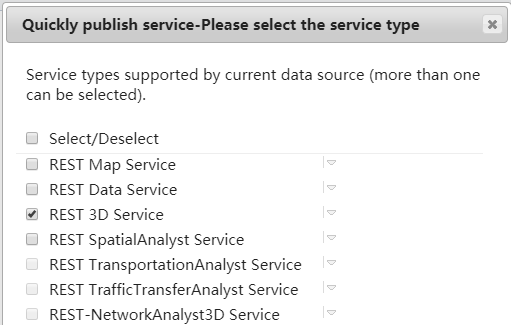
Fig. Select REST 3D Service
When finished, click Finish and Close.
Results
The service displays in the service list http://localhost:8090/iserver/services, as shown below.

Fig. The published service
3 Browse Oblique Image Model at Client Side
Introduction
After publishing service, WebGL Client can load the oblique image data.
Please place WebGL package at %SuperMap iServer_HOME%/webapps.
Basic Steps
1 Get the url of the 3D data.
- Enter http://localhost:8090/iserver/services and find the published 3D service.
- Enter root directory page, click realspace.
- Enter 3D page, click datas.
- Enter datas page, click Config.
- Enter data page, click Get 3D data configuration file to display the page as shown below, and copy the url address.

Fig. Copy url address
2 Enter the path of WebGL product package in %SuperMap iServer_HOME%/webapps, in the examples folder, open S3MTiles.html with text editor, and modify the following content.

Fig. Change parameter
- Modify the scene. addS3MTilesLayerByScp () function, and change the address to the copied address, and change the name.
- Modify the Cesium.Cartesian3.fromDegrees() function. The parameters of this function are longitude, latitude, elevation of the center point of the model. Please modify the insert point in the scp file, which is used to fly to the position of the oblique image model.
3 Open the S3MTiles.html page, that is, enter the url http://localhost:8090/%WebGL Package%/examples/S3MTiles.html in the browser.
Results
After you open the page, the camera flies to the position of the oblique image data, as shown below.
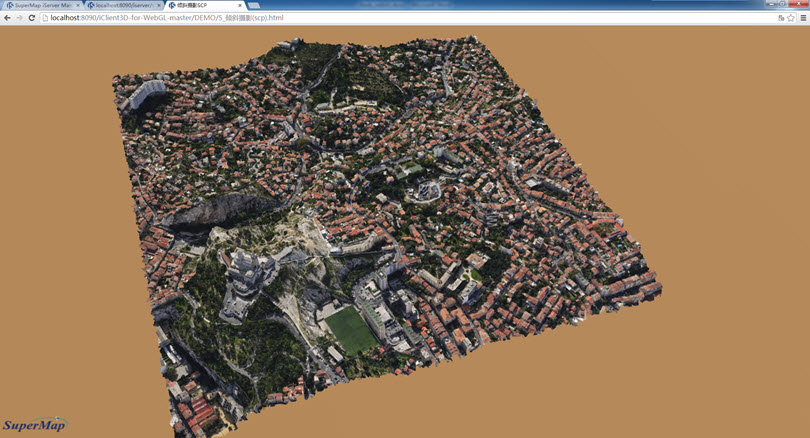
Fig. Load oblique image data